Turbo4WD.com
1995 325i Radiator, Water Pump, Thermostat, and Thermostat
Housing Change
At
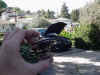
67K while driving home I suddenly smelled coolant. I started to watch the
temp gauge and about
1
mile the needle started to move. I got about 1 more mile before the temp needle
moved to a point
I
felt uncomfortable. I pulled off the highway and into a parking lot about 1 mile
from my house and
had
to call a tow truck. Upon inspection, the top radiator neck had cracked and was
venting fluid.
Since
my wife drives the car, and she was on a business trip, I had to find a
replacement radiator fast.
I
found a Baer the same day and picked it up.
Long
story short, I replaced the radiator, and realized very quickly the car was
still on a path to
overheating.
Now I was really confused until I found out that BMW made a water pump with a
plastic
impellor!!! Here is how I changed the radiator, water pump, thermostat and
thermostat
housing.
All
the parts cost me about $500 which were dealer prices except the radiator. You
can probably
get
them cheaper from a discount dealer.
For
reference, the dealer wanted to charge me $1200 not including the radiator cost
I think they
wanted
another $450 for the radiator.
-Shawn
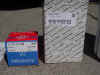
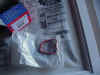
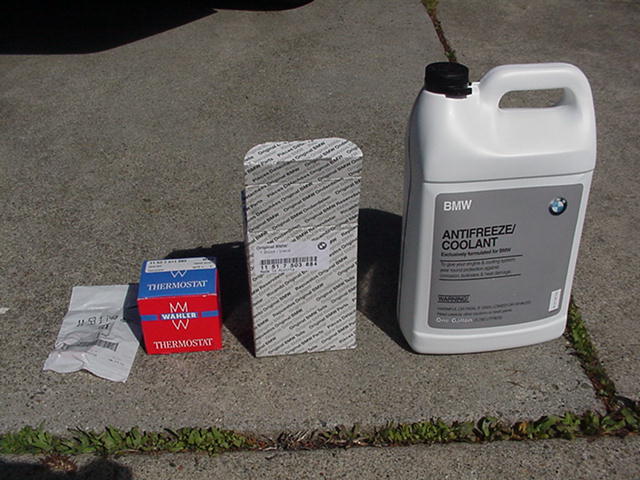
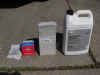 Here
are some of the parts I needed to buy. Here
are some of the parts I needed to buy. |
 You
can get the part numbers off of these shots if you need. You
can get the part numbers off of these shots if you need. |
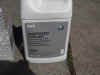
 More
part numbers. More
part numbers. |
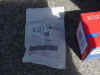 Even
more part numbers. Even
more part numbers. |
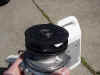
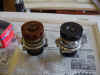
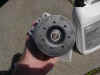 Here
is what the new water pump looks like. It is made of some kind of composite
material. It is like metal, but not. Maybe a ceramic? Here
is what the new water pump looks like. It is made of some kind of composite
material. It is like metal, but not. Maybe a ceramic? |
 Here
is another shot. Here
is another shot. |
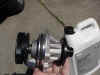
 And
yet another. And
yet another. |
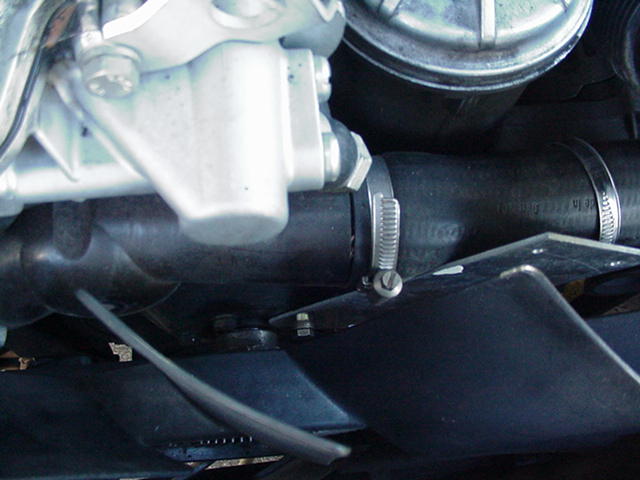
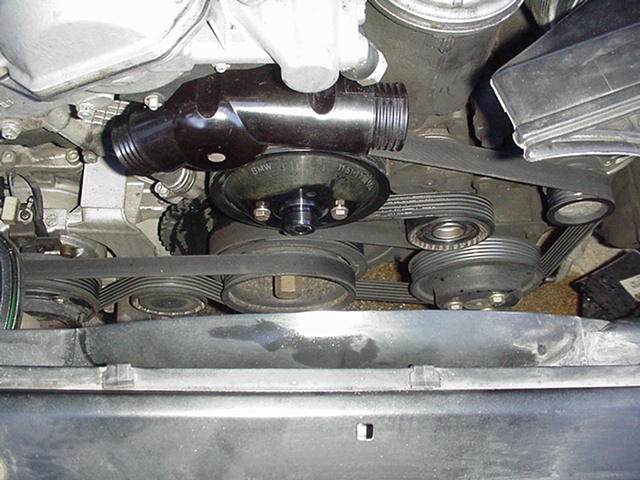
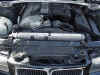
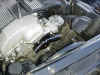
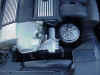 This
is a above view of where the water pump and thermostat housing are
located. This
is a above view of where the water pump and thermostat housing are
located. |
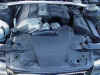 First
thing to do is remove the radiator. To do this, you will need to first
pull the plastic cover. First
thing to do is remove the radiator. To do this, you will need to first
pull the plastic cover. |
 The
back shield on the radiator is held in by some push pins. I broke mine
trying to get them out. You may want to order some new ones. The
back shield on the radiator is held in by some push pins. I broke mine
trying to get them out. You may want to order some new ones. |
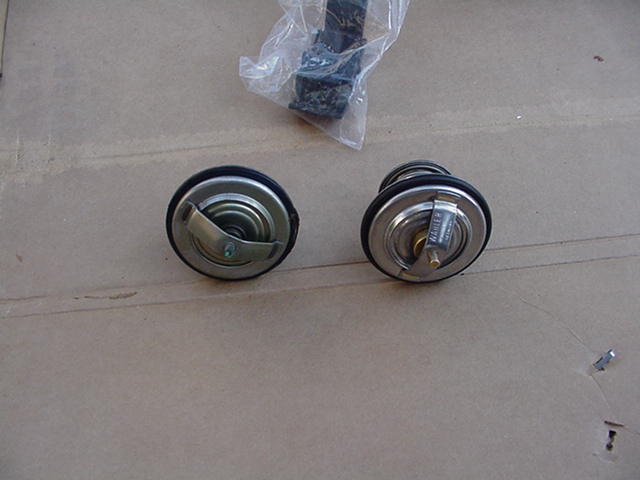
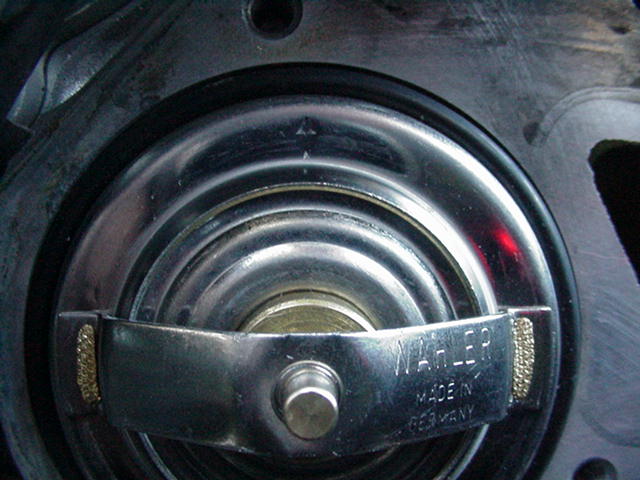
 Here
is a shot of the new thermostat. I am told the new ones have a slightly
higher temp. I think the real reason they changed them is to make the temp
need line up exactly with the center line! But since you are in there,
might as well change it. Here
is a shot of the new thermostat. I am told the new ones have a slightly
higher temp. I think the real reason they changed them is to make the temp
need line up exactly with the center line! But since you are in there,
might as well change it. |
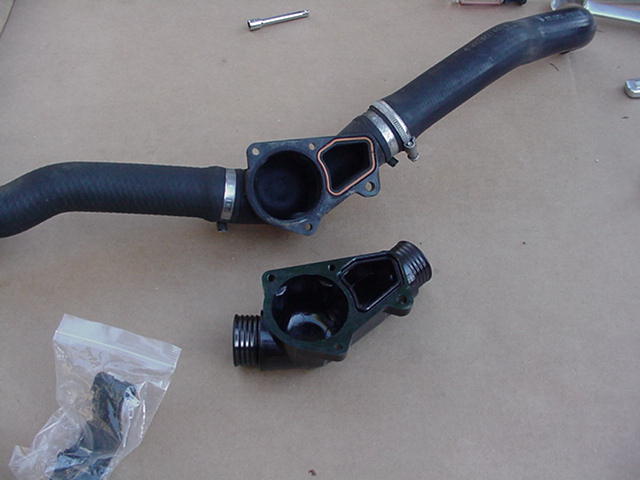
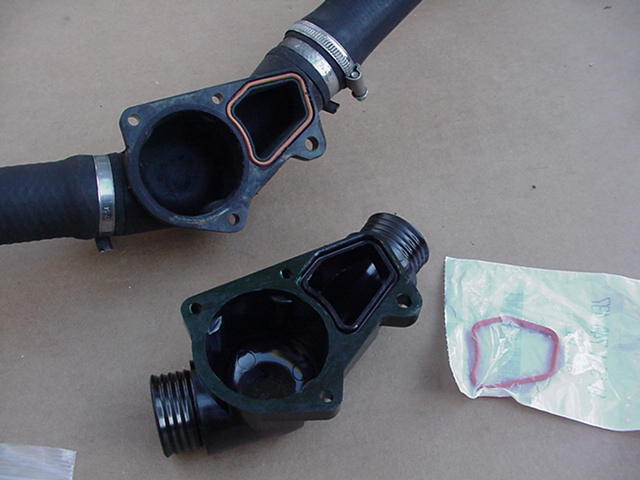
 This
is the new gasket for the thermostat housing. This
is the new gasket for the thermostat housing. |
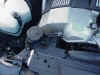
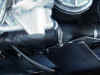
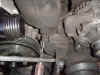
 In
order to do this right, you are going to need to drain the fluid. This is
a coolant drain plug in the block. In
order to do this right, you are going to need to drain the fluid. This is
a coolant drain plug in the block. |
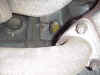 It
is located on the passenger side. A little bit difficult to get to. But
once you locate it, it is not too bad. It
is located on the passenger side. A little bit difficult to get to. But
once you locate it, it is not too bad. |
 Here
is a picture of the shield removed. the radiator is held in by the back
ratchet type clamps. You will need to stick a screw driver in there to
free them. I broke one and had to buy a replacement. Here
is a picture of the shield removed. the radiator is held in by the back
ratchet type clamps. You will need to stick a screw driver in there to
free them. I broke one and had to buy a replacement. |
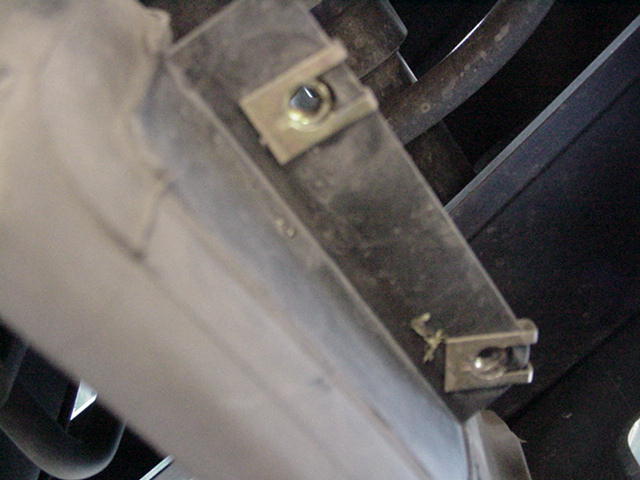
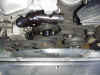
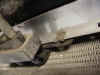 If
you car is an automatic like mine, then you will have a tranny cooler you
must disconnect. To get to it, you will need to remove a plastic shield.
The shield is held in by 4 screws on each side. This picture shows the
screws holding the tranny cooler. If
you car is an automatic like mine, then you will have a tranny cooler you
must disconnect. To get to it, you will need to remove a plastic shield.
The shield is held in by 4 screws on each side. This picture shows the
screws holding the tranny cooler. |
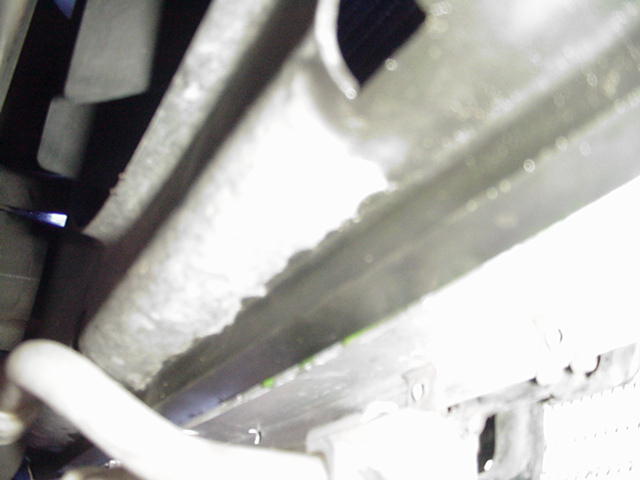
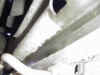 This
is another shot of the tranny cooler location, but it got whited out by
the flash. This
is another shot of the tranny cooler location, but it got whited out by
the flash. |
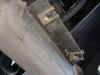 Here
are two of the tranny basket shield screw holes. Here
are two of the tranny basket shield screw holes. |
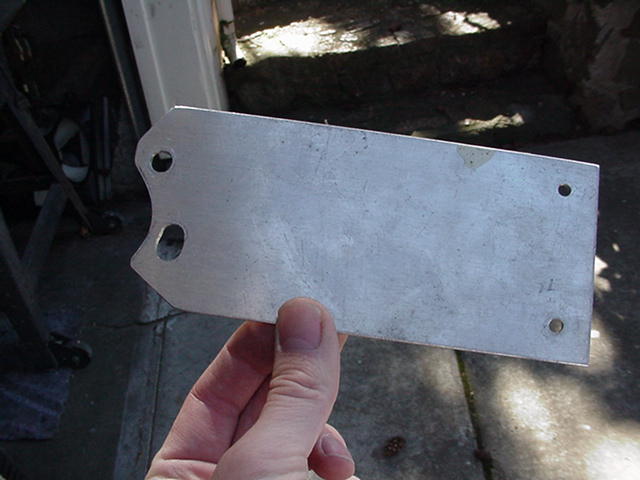
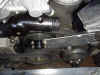
 In
order the get the water pump out you need to remove the fan. In order to
do this I made an aluminum holder. In
order the get the water pump out you need to remove the fan. In order to
do this I made an aluminum holder. |
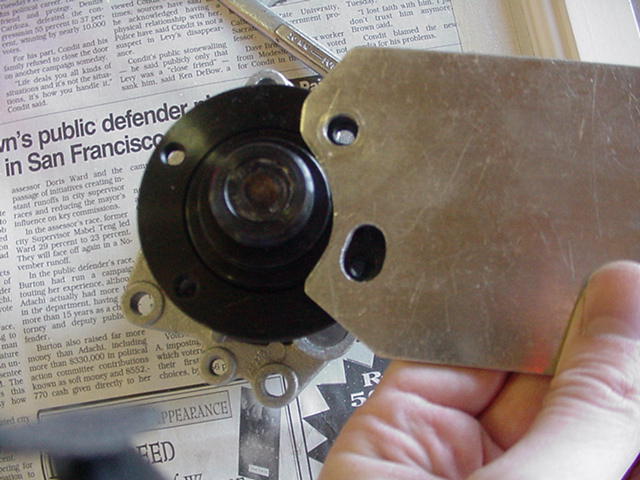
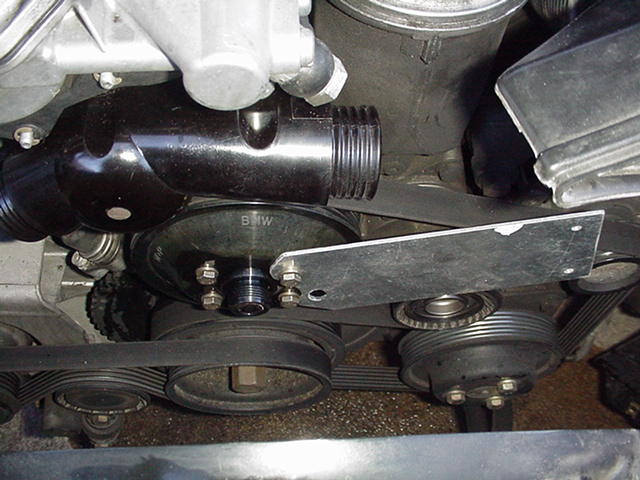
 The
holder goes between the fan and secures to the water pump. This allows you
to remove the fan. (I don't remember if the fan bolt is held in with a
reverse thread?) The
holder goes between the fan and secures to the water pump. This allows you
to remove the fan. (I don't remember if the fan bolt is held in with a
reverse thread?) |
 This
picture is actually difficult to distinguish, but important. It shows the
plate in place to remove the fan. This
picture is actually difficult to distinguish, but important. It shows the
plate in place to remove the fan. |
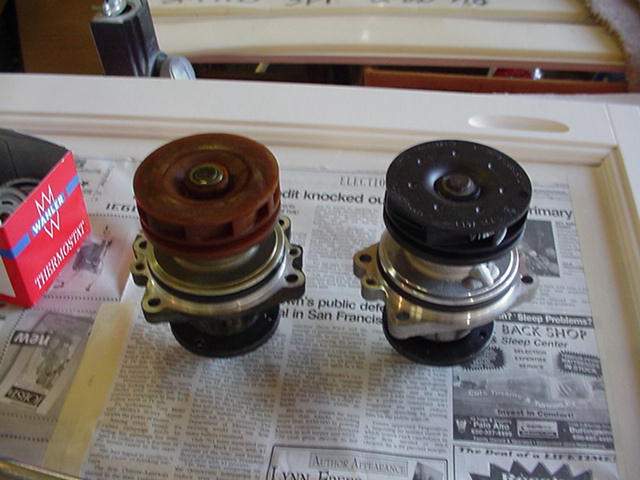
 Here
are the two different water pumps. Here
are the two different water pumps. |
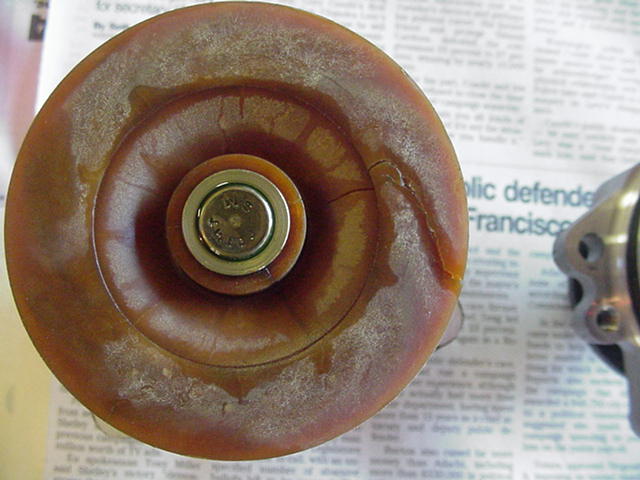
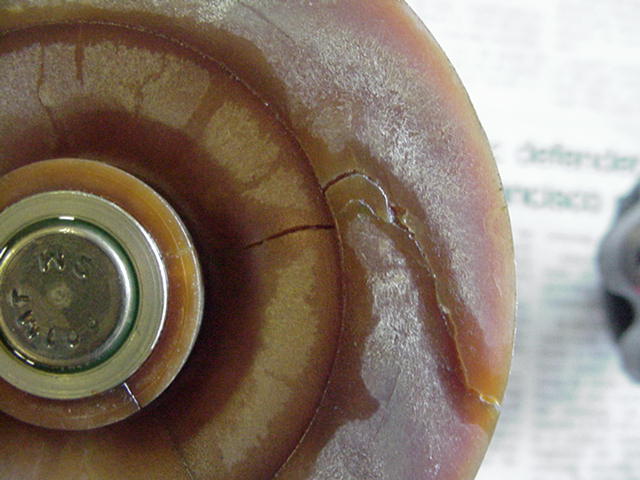
 You
can see the crack in the plastic. You
can see the crack in the plastic. |
 This
crack caused it the shaft to spin and the blades not to. This
crack caused it the shaft to spin and the blades not to. |
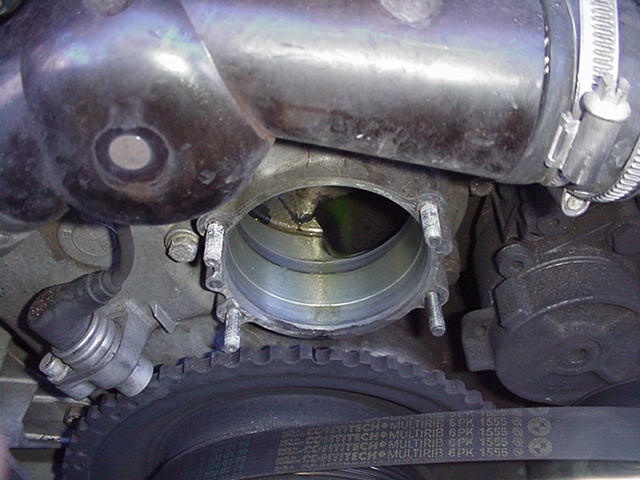
 Here
is the opening on the block where the water pump goes. It is under the
thermostat housing. Here
is the opening on the block where the water pump goes. It is under the
thermostat housing. |
 I
also removed the thermostat housing to replace the thermostat while I was
in there. I
also removed the thermostat housing to replace the thermostat while I was
in there. |
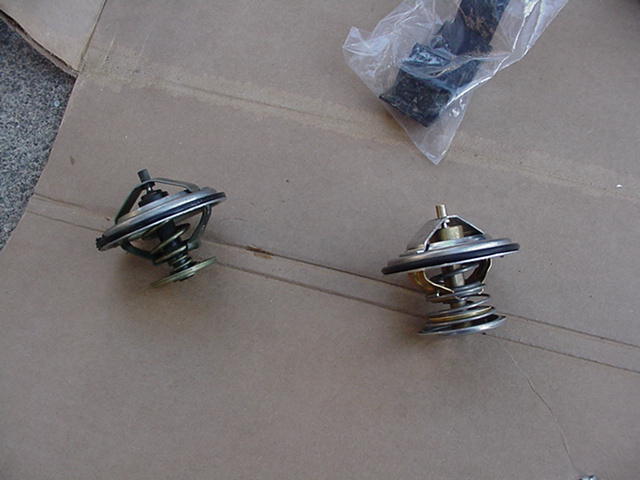
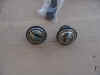 Here
is the difference between the two thermostats. Here
is the difference between the two thermostats. |
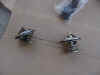 Another
view of the difference in the thermostats. You can also see the radiator
clip I had to buy because I broke one. Another
view of the difference in the thermostats. You can also see the radiator
clip I had to buy because I broke one. |
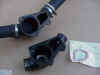 Here
is the new thermostat housing. My old one didn't show any signs of wear,
but might as well replace it since it is also plastic. I inspected my
radiator hoses and they looked good so I didn't replace them. Depending on
their condition you may want to replace these while you are at it. Here
is the new thermostat housing. My old one didn't show any signs of wear,
but might as well replace it since it is also plastic. I inspected my
radiator hoses and they looked good so I didn't replace them. Depending on
their condition you may want to replace these while you are at it. |
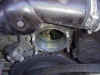
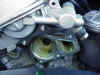 Here
is the opening with the thermostat housing removed. I was very impressed
with the BMW coolant. There was no corrosion in the water line. I was so
impressed I used BMW coolant on my GSX race motor. Here
is the opening with the thermostat housing removed. I was very impressed
with the BMW coolant. There was no corrosion in the water line. I was so
impressed I used BMW coolant on my GSX race motor. |
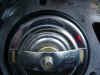 This
is the show the direction the thermostat fits in place This
is the show the direction the thermostat fits in place |
 Starting
to put things back together. Here is the housing put back on. Next will be
the radiator hoses an then the water pump. Starting
to put things back together. Here is the housing put back on. Next will be
the radiator hoses an then the water pump. |
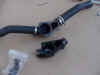
 Forgot
to mention the belt. Make sure you remember how the belt is routed!!! Forgot
to mention the belt. Make sure you remember how the belt is routed!!! |
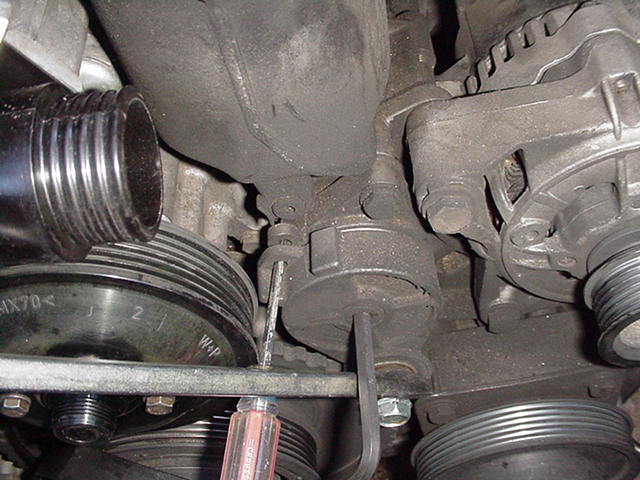
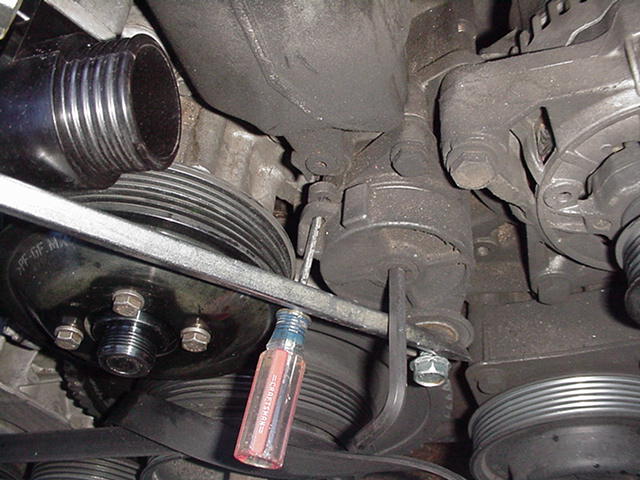
 Here
is how I recompressed the belt tensioner. I then locked it in with a screw
driver. Here
is how I recompressed the belt tensioner. I then locked it in with a screw
driver. |
 This
picture shows the route of the belt in case you forgot. It also shows the
water pump pulley on. You will notice I didn't put all the screws in yet.
I need to put my holder in place. This
picture shows the route of the belt in case you forgot. It also shows the
water pump pulley on. You will notice I didn't put all the screws in yet.
I need to put my holder in place. |
 Here
is the holder back in place. This is so I can put the fan back on. Now is
a good time to put the radiator hoses back on. Next is the fan. Once you
get the fan on, tighten the 4 bolts on the water pump pulley. The rest is
just like the way it came off. Here
is the holder back in place. This is so I can put the fan back on. Now is
a good time to put the radiator hoses back on. Next is the fan. Once you
get the fan on, tighten the 4 bolts on the water pump pulley. The rest is
just like the way it came off. |
Pictures and content are the property of Shawn
Gradek and Turbo4WD.com
They can not be copied, used or reproduced without consent.
Copyright © 1999, 2000,
2001, 2002. Shawn Gradek.
All Rights Reserved
 Here
are some of the parts I needed to buy.
Here
are some of the parts I needed to buy. 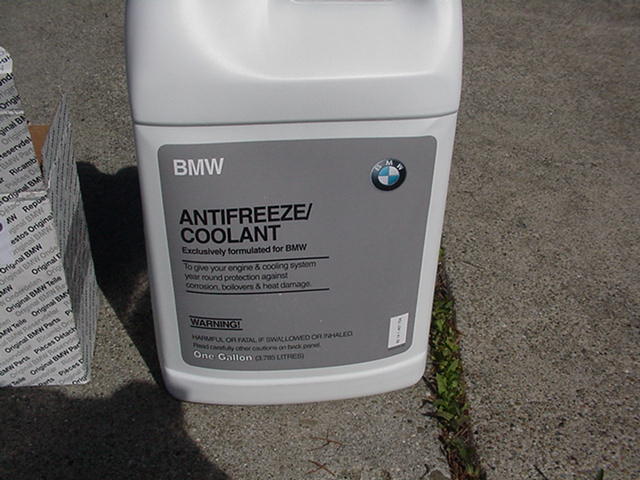 You
can get the part numbers off of these shots if you need.
You
can get the part numbers off of these shots if you need.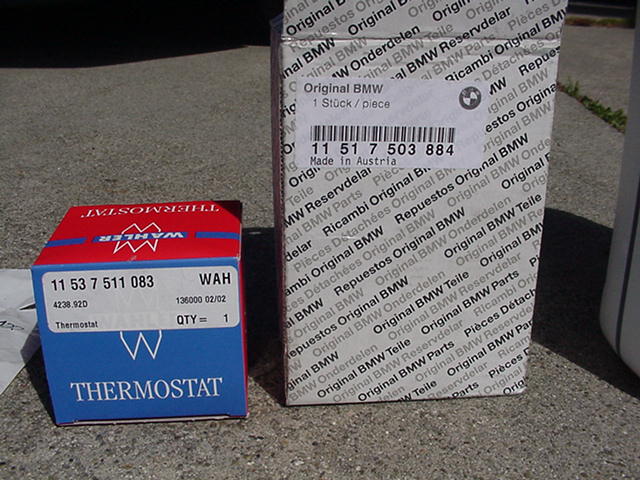 More
part numbers.
More
part numbers.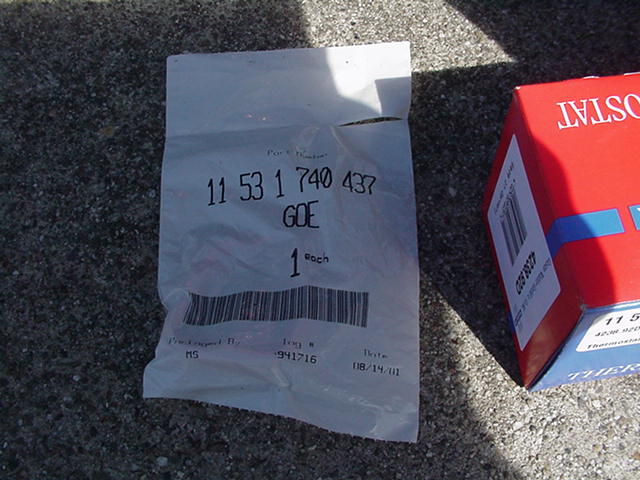 Even
more part numbers.
Even
more part numbers.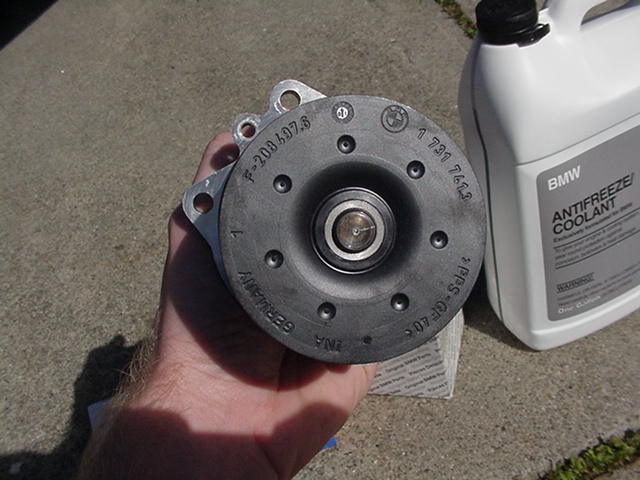 Here
is what the new water pump looks like. It is made of some kind of composite
material. It is like metal, but not. Maybe a ceramic?
Here
is what the new water pump looks like. It is made of some kind of composite
material. It is like metal, but not. Maybe a ceramic?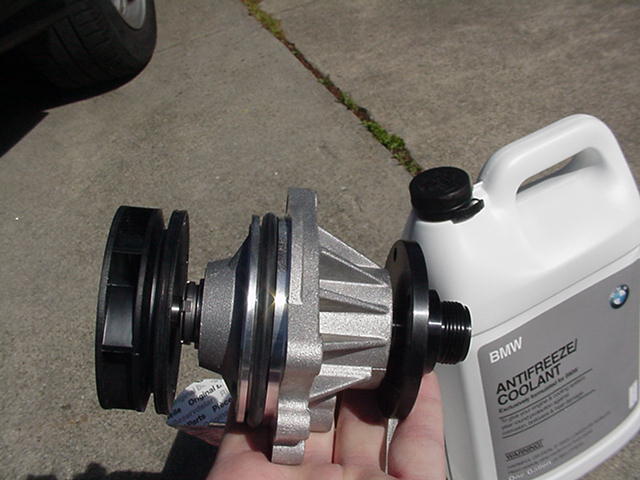 Here
is another shot.
Here
is another shot.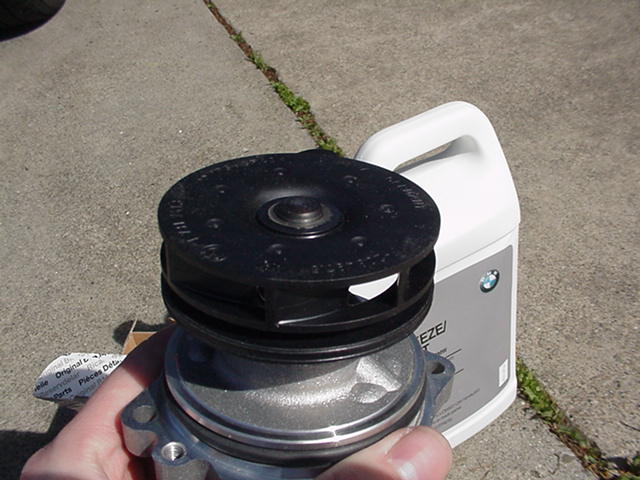 And
yet another.
And
yet another.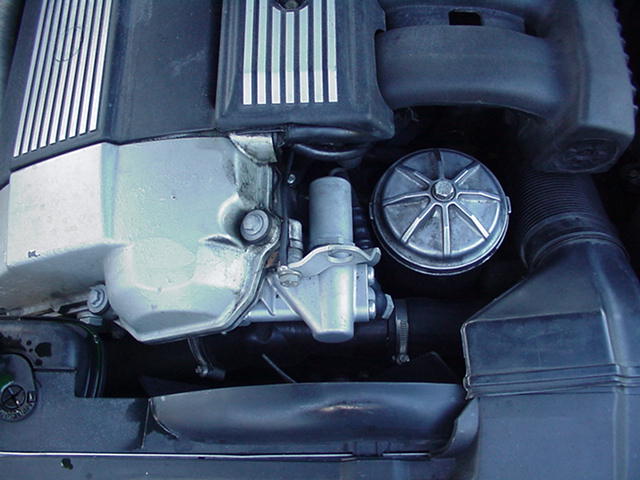 This
is a above view of where the water pump and thermostat housing are
located.
This
is a above view of where the water pump and thermostat housing are
located.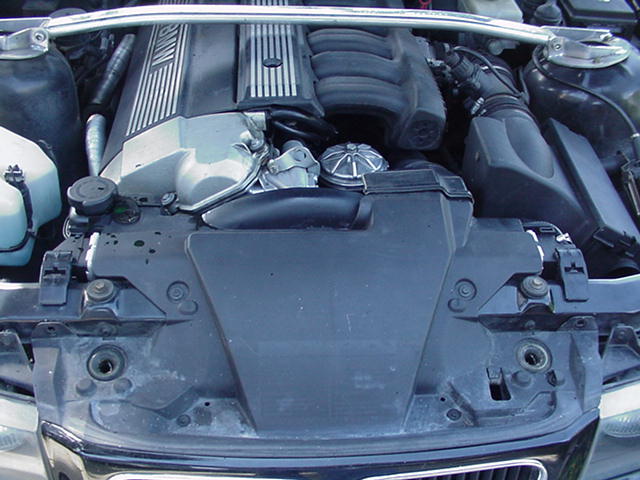 First
thing to do is remove the radiator. To do this, you will need to first
pull the plastic cover.
First
thing to do is remove the radiator. To do this, you will need to first
pull the plastic cover. 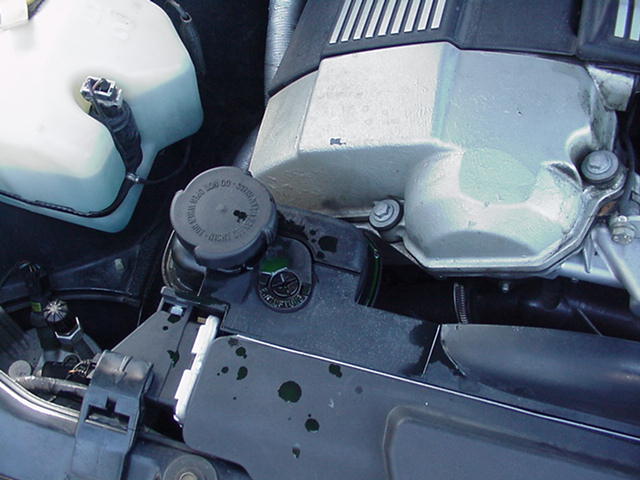 The
back shield on the radiator is held in by some push pins. I broke mine
trying to get them out. You may want to order some new ones.
The
back shield on the radiator is held in by some push pins. I broke mine
trying to get them out. You may want to order some new ones. 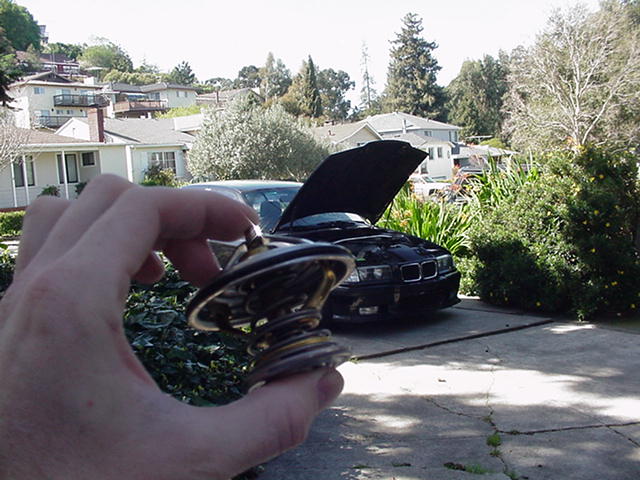 Here
is a shot of the new thermostat. I am told the new ones have a slightly
higher temp. I think the real reason they changed them is to make the temp
need line up exactly with the center line! But since you are in there,
might as well change it.
Here
is a shot of the new thermostat. I am told the new ones have a slightly
higher temp. I think the real reason they changed them is to make the temp
need line up exactly with the center line! But since you are in there,
might as well change it.  This
is the new gasket for the thermostat housing.
This
is the new gasket for the thermostat housing.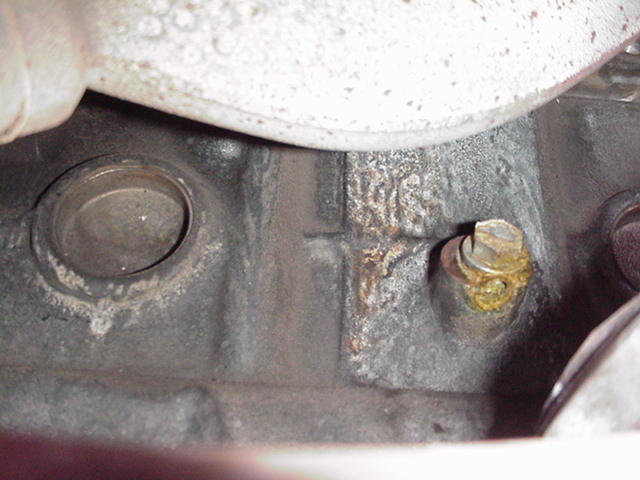 In
order to do this right, you are going to need to drain the fluid. This is
a coolant drain plug in the block.
In
order to do this right, you are going to need to drain the fluid. This is
a coolant drain plug in the block.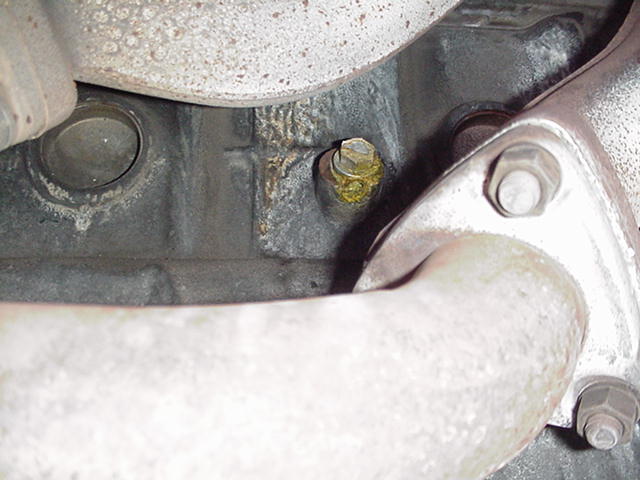 It
is located on the passenger side. A little bit difficult to get to. But
once you locate it, it is not too bad.
It
is located on the passenger side. A little bit difficult to get to. But
once you locate it, it is not too bad. 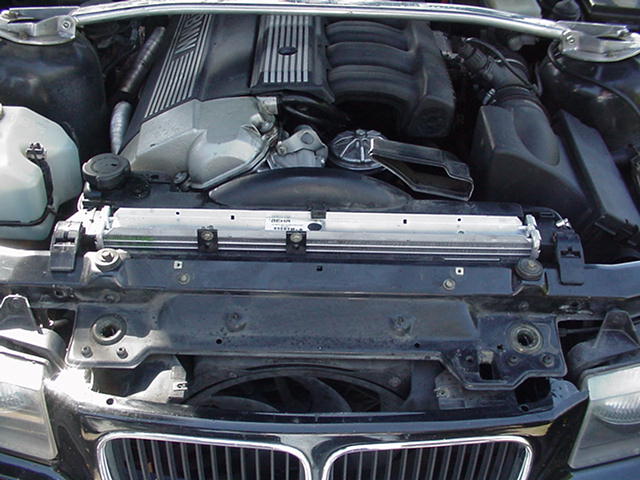 Here
is a picture of the shield removed. the radiator is held in by the back
ratchet type clamps. You will need to stick a screw driver in there to
free them. I broke one and had to buy a replacement.
Here
is a picture of the shield removed. the radiator is held in by the back
ratchet type clamps. You will need to stick a screw driver in there to
free them. I broke one and had to buy a replacement. 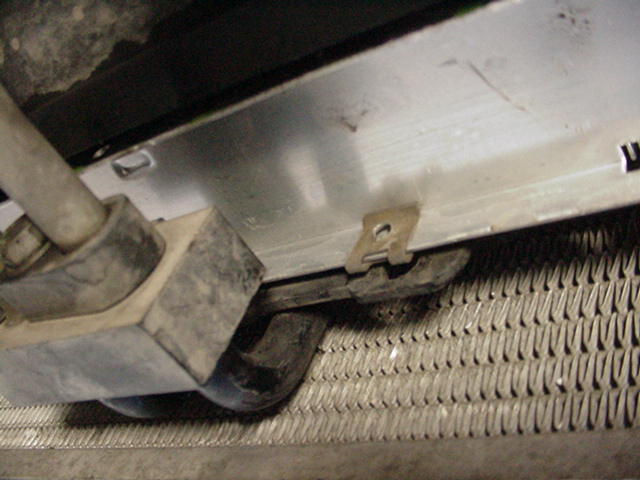 If
you car is an automatic like mine, then you will have a tranny cooler you
must disconnect. To get to it, you will need to remove a plastic shield.
The shield is held in by 4 screws on each side. This picture shows the
screws holding the tranny cooler.
If
you car is an automatic like mine, then you will have a tranny cooler you
must disconnect. To get to it, you will need to remove a plastic shield.
The shield is held in by 4 screws on each side. This picture shows the
screws holding the tranny cooler.